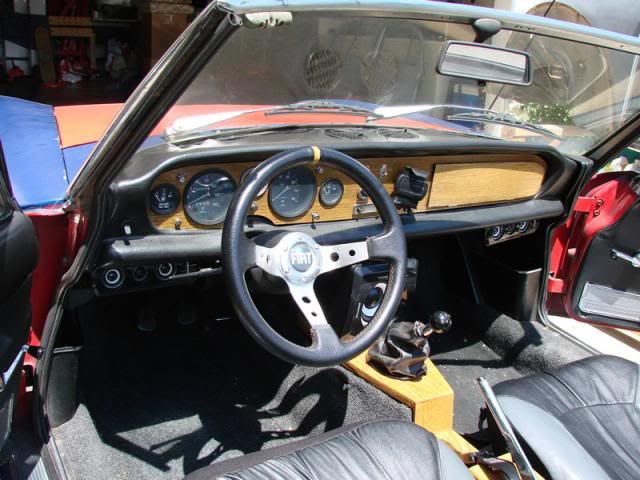
This was my starting point - the existing dash. Not stock to begin with as you can see.
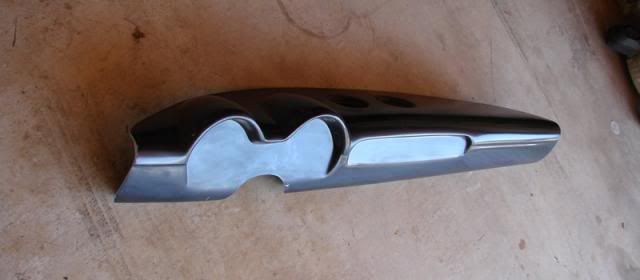
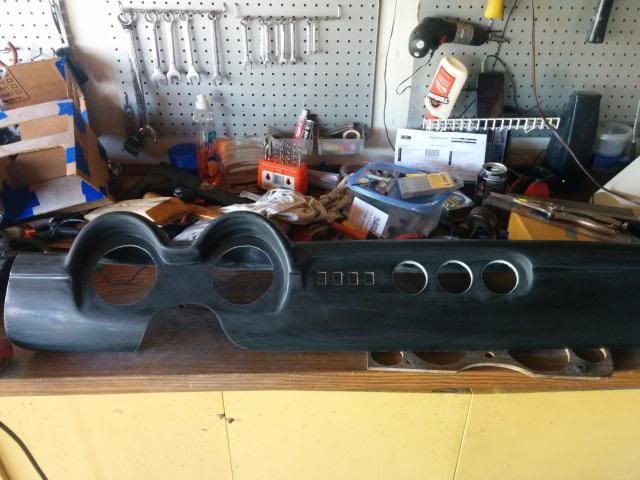
And here is the bare fiberglass shell of the new dash. Normally they're white, but mine was black for no particular reason.
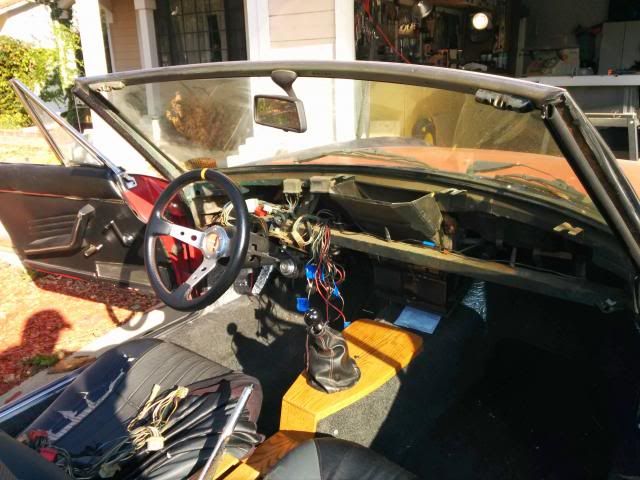
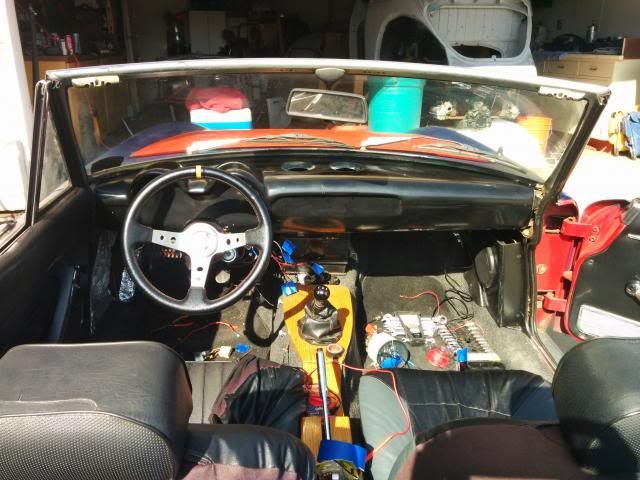
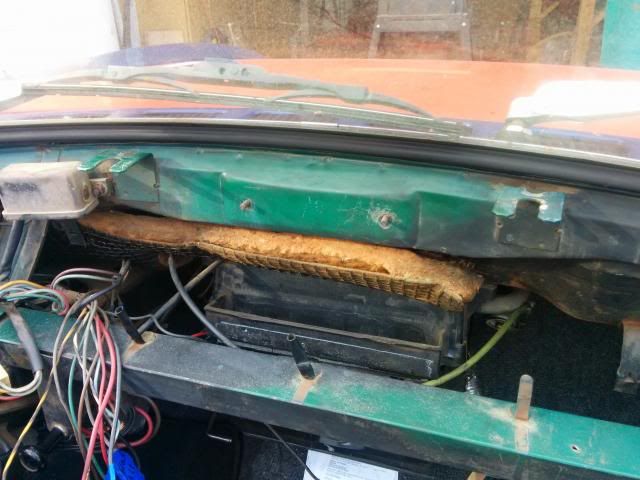
Pulled the old dash and did some clean up underneath.
Then started with a dry-fit to check for fitment issues. Overall it fit pretty well, and I decided I did not to add or trim any of the fiberglass base.
Took photos of all the gauges and taped them on in various configurations until I decided on a final layout.
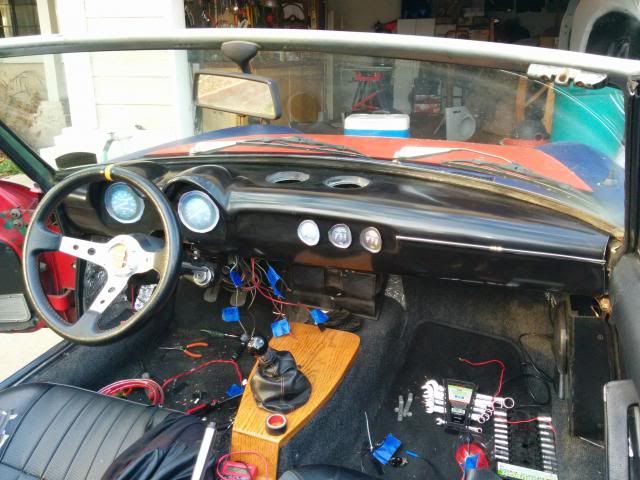
Took all the gauges apart, cleaned them up, and pulled the bezels off.
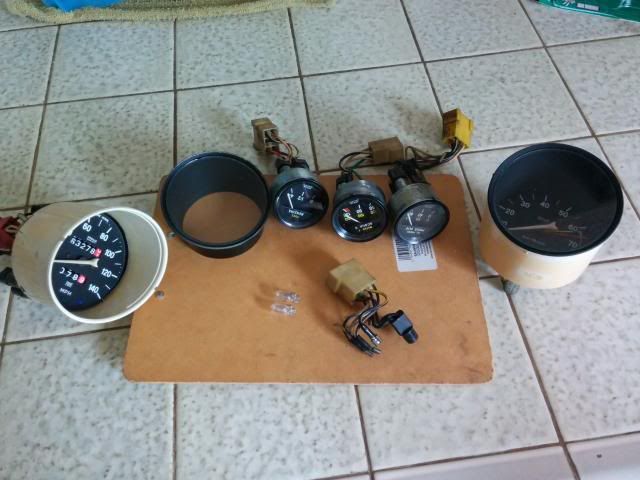
I tried both stripping and painting the bezels, and was happier with the stripped and polished look, though that took much longer to accomplish, as the paint would not strip off of some of the bezels with aircraft stripper and had to be hand-sanded off.
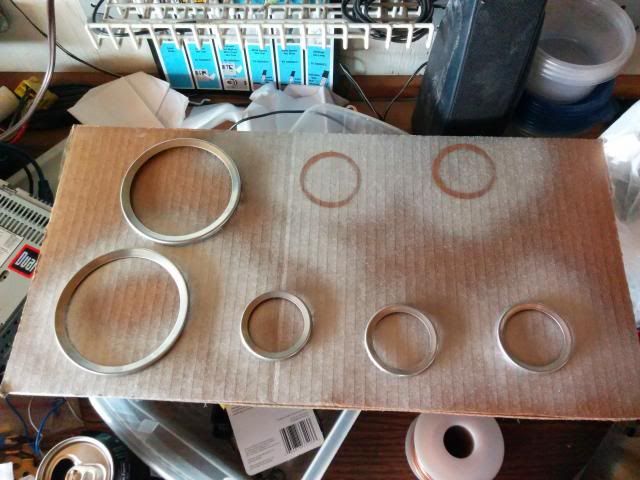
Bought angled gauge rings in which to mount the smaller gauges. This is a test fit to confirm the size of the hole before I started drilling into the fiberglass.
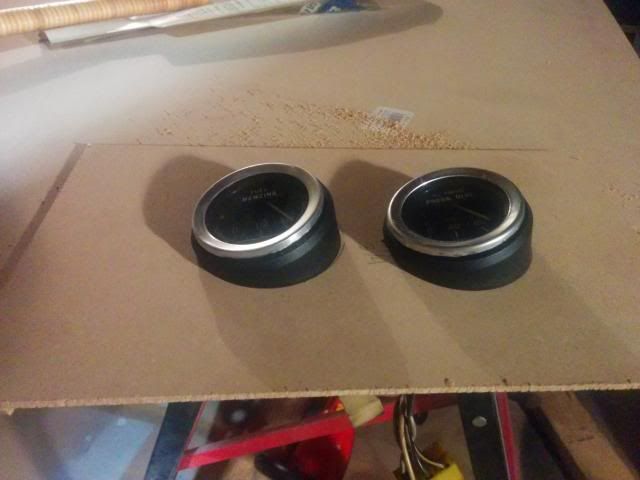
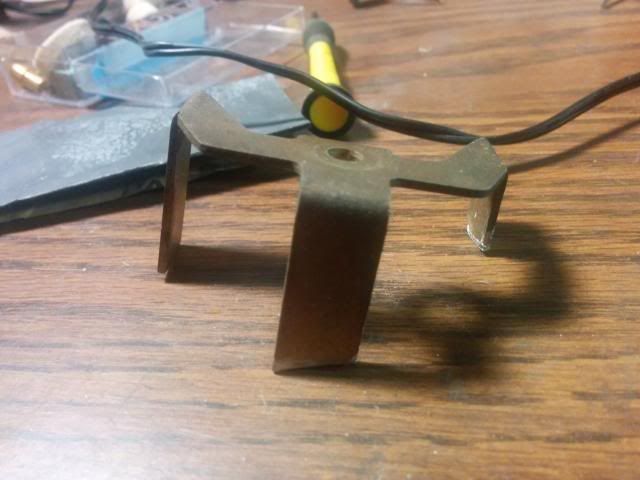
Also had to modify the brackets that go on the back of the small gauges in order to mount them in the angled rings.
Painted the lower portion of the dash black.
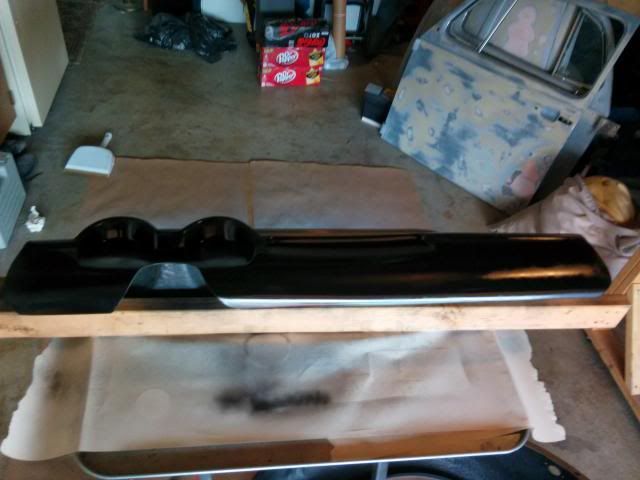
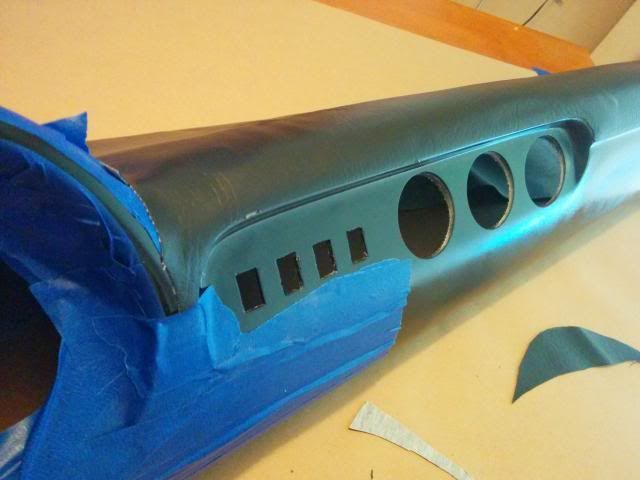
Left the upper portion unpainted as it will be covered with foam padding and black vinyl (the top appears grey now because I shot it with grey primer first).
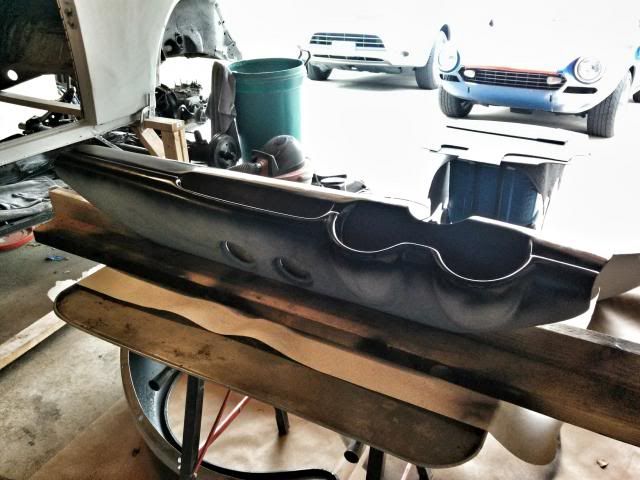
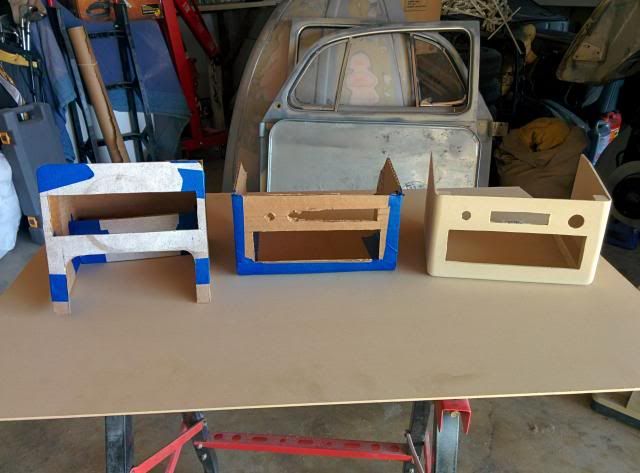
Fabricated a "lower dash console" to hang beneath the dash, directly over the lower interior console. This will hold the stereo, courtesy light, hazard switch and push-button start. Went through a couple prototypes before settling on a design (right).
Marked the positions of the small gauges, drilled pilot holes, then drilled larger holes and installed gauges. I'll tell you, I got nervous when I started cutting into the fiberglass. That's kind of the point of no return.
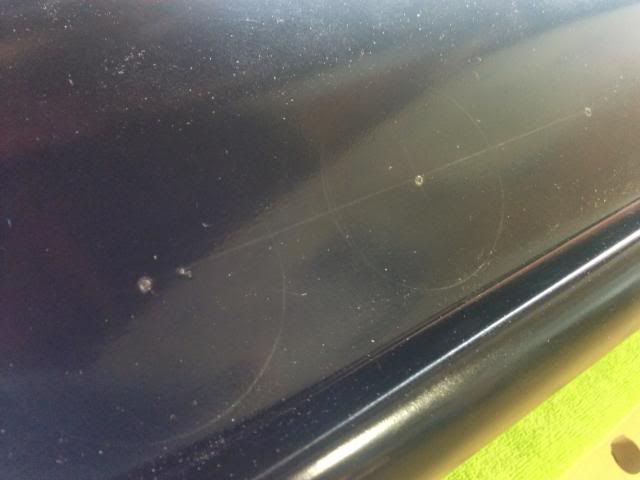
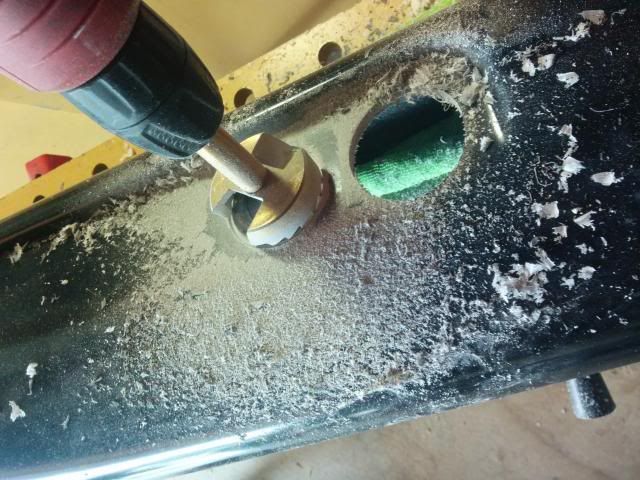
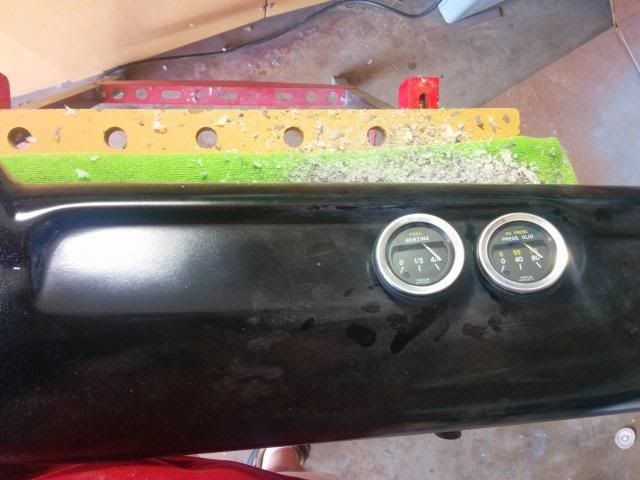
Cut holes left of the gauges for a row of switches (Lights, wipers, heater, and one free switch for future use).
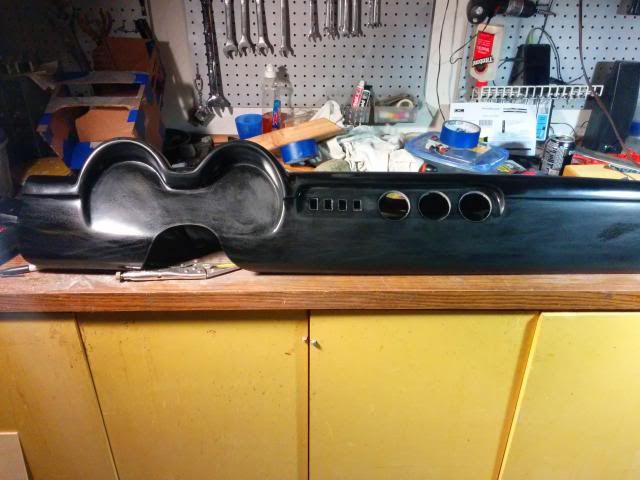
Cut main gauge holes.
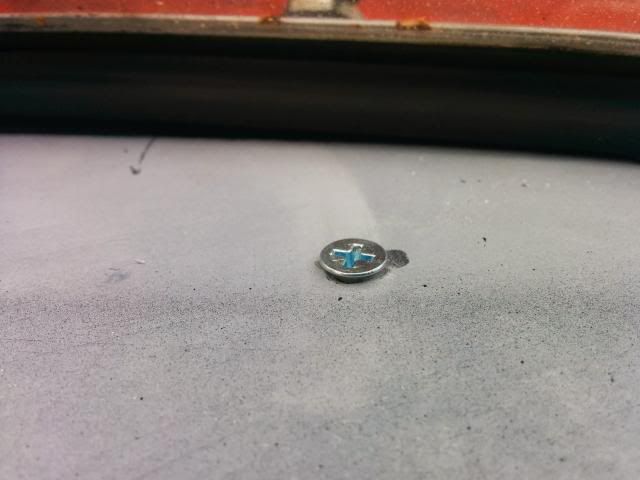
Set the dash in place again to mark the location of the attachment brackets. I simply drilled through the top of the dash to install flat-head bolts which take a washer and nut underneath to secure them to the brackets. Since I'm putting pad and vinyl on top, I wasn't worried about the screw-heads showing on top.
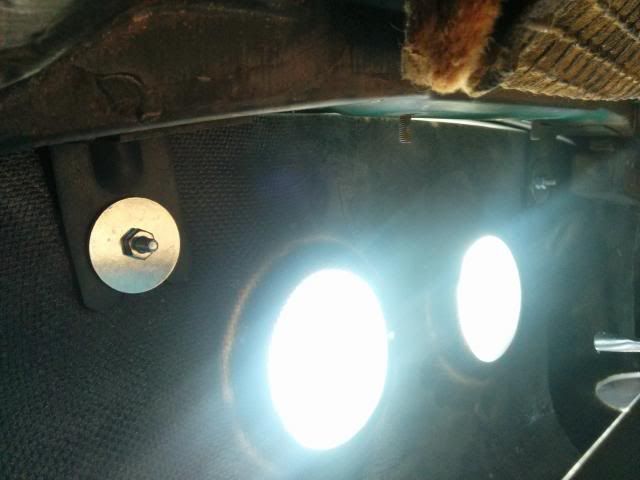
Dry fit with gauges in place.
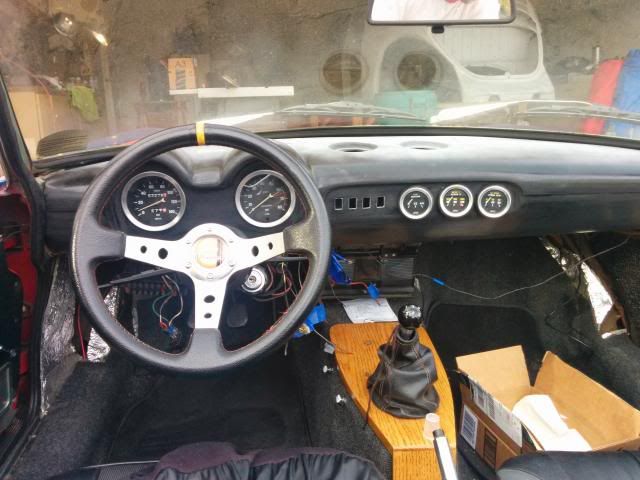
Final coat of paint on the lower portion.
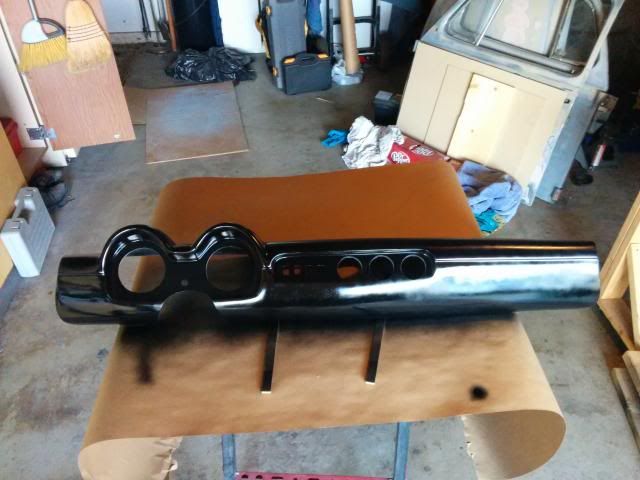
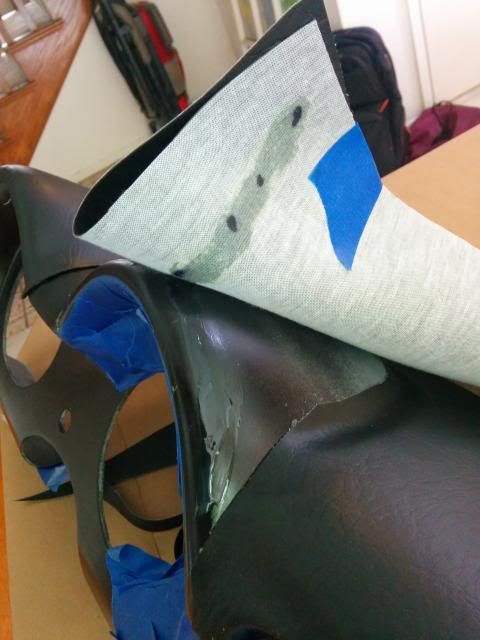
Applied the vinyl by masking off a strip of dashboard using painters tape. Applied contact cement to the strip and to the vinyl, removed the tape, and secured the vinyl along the strip.
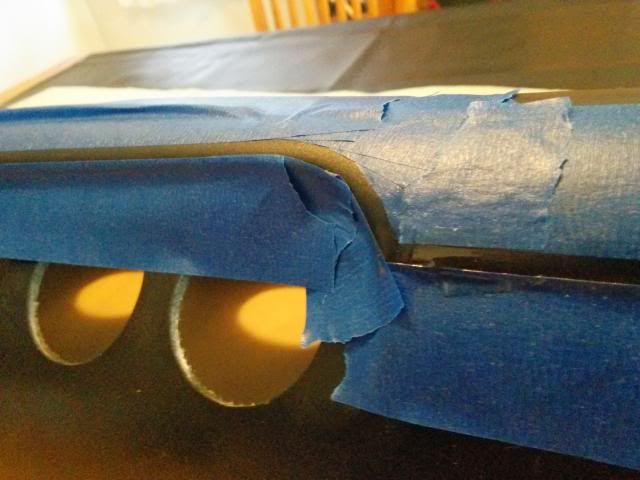
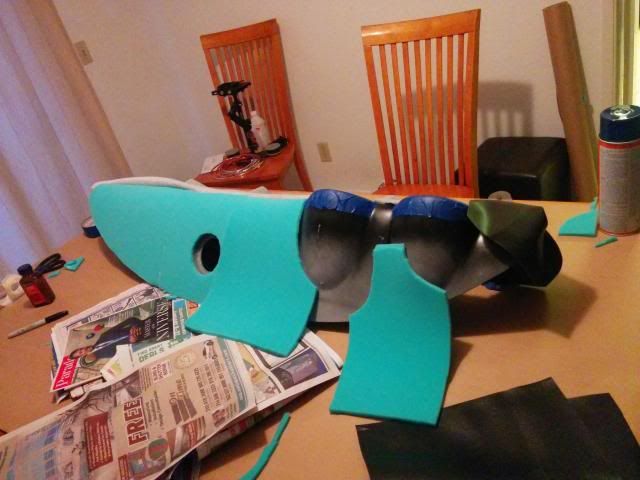
Secured the foam pad to the top of the dash using spray headline adhesive.
More headline spray to secure the vinyl over the pad, then cut the defroster vent holes.
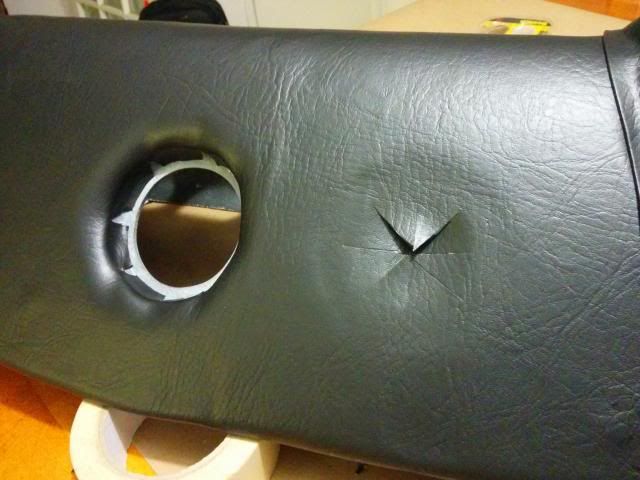
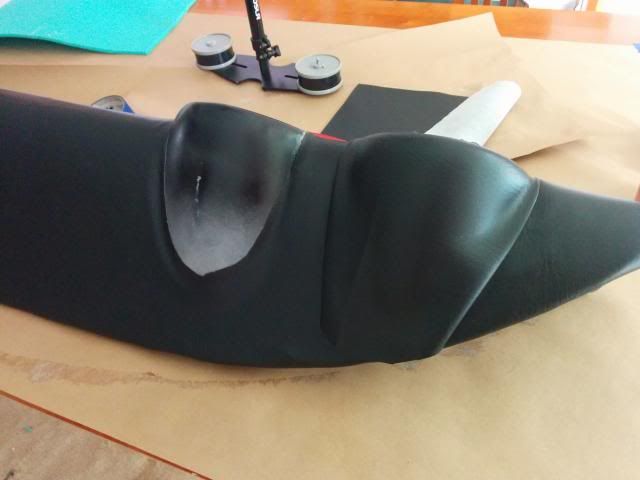
Covering the pods over the main gauges was tricky. I ended up covering them with separate vinyl pieces. Probably not the most professional approach - but as a total amateur, I ended up happy with the look.
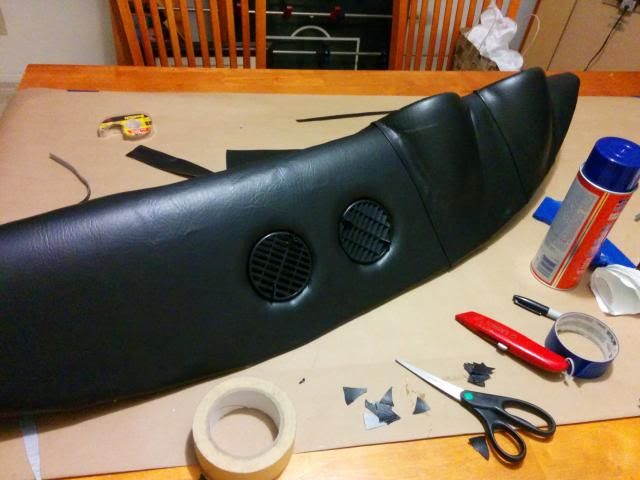
Next came a strip of chrome trim along the leading edge of the vinyl to give it a finished look.
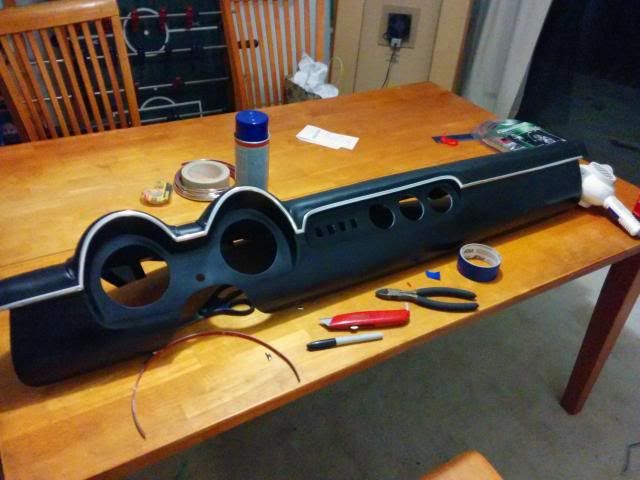
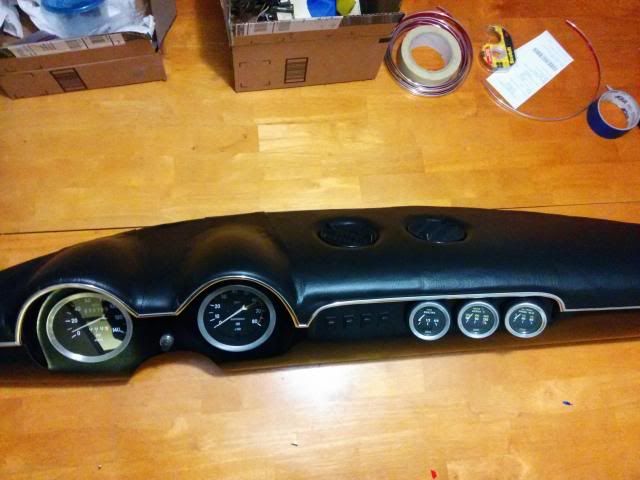
And the finished product.
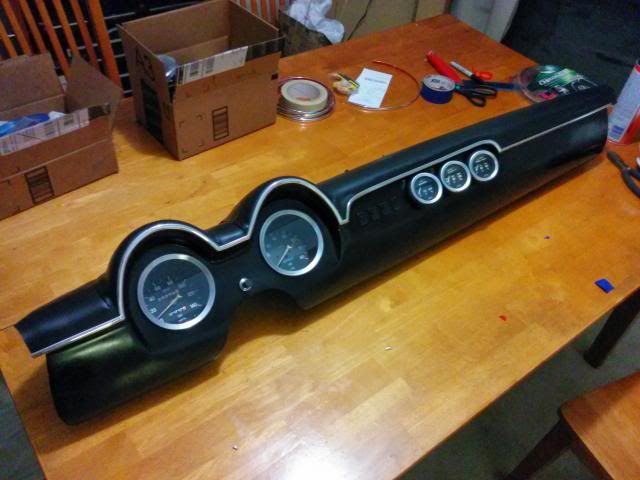
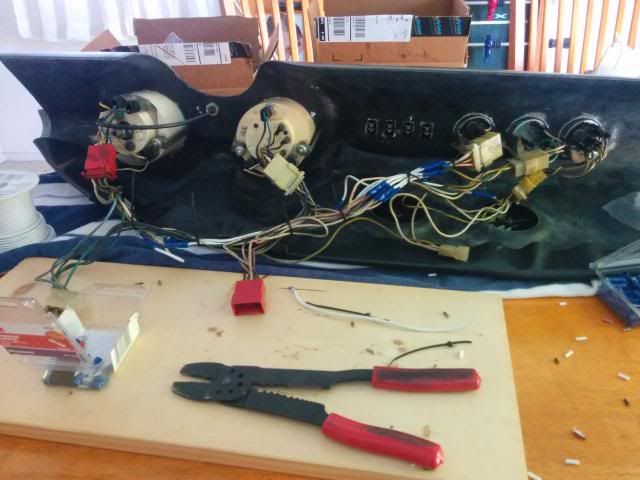
Had to extend some of the wires to accommodate the relocation of the smaller gauges.
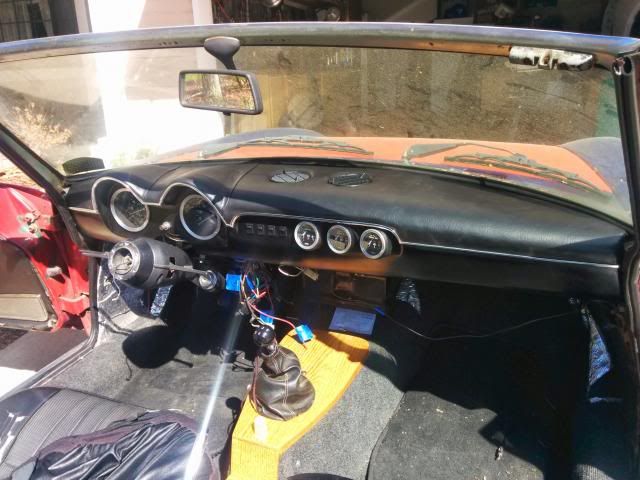
Mounted in the car.
With the lower dash console added. It hangs on a bracket from the metal beam that crosses the car under the dash.
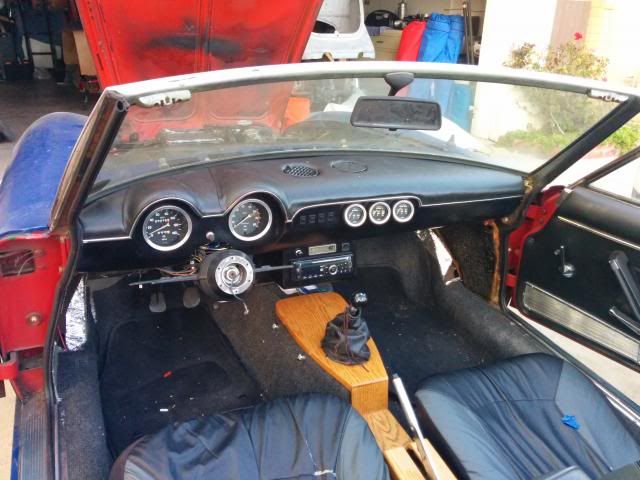
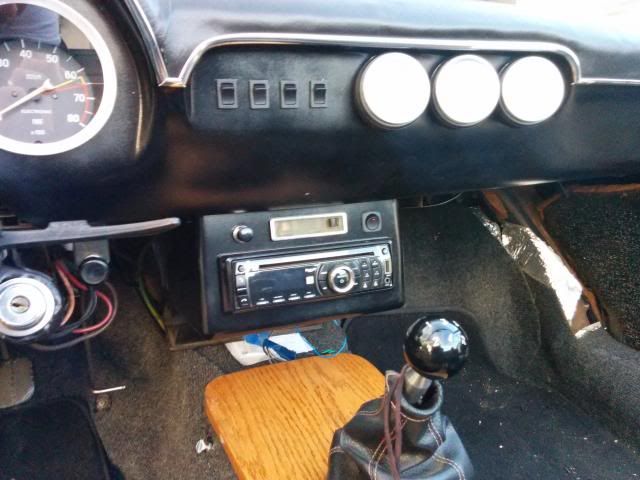
And all done.
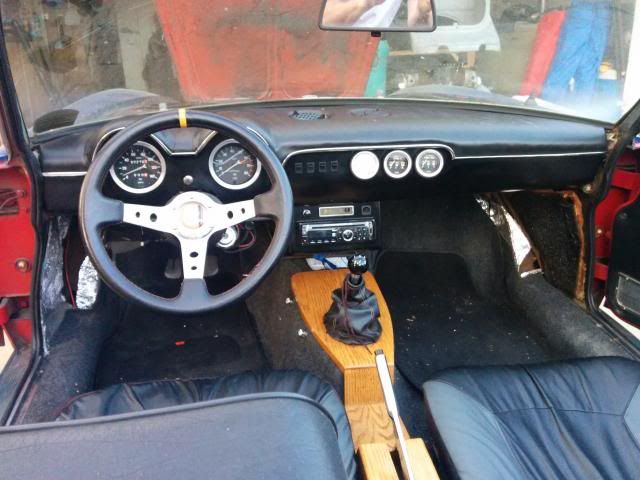
There are a lot more pictures in the Photobucket album if you want to see more of the detail.
http://s369.photobucket.com/user/seuban ... %20Project
It was a fun project. Took me about three weeks, mostly on the weekends. A few long days, and several other days of an hour or so here and there. I'm really happy with the result. I'm sure an interior pro would have done much better, but I'm proud of what I built, and all the happier for having done it myself.
-- se