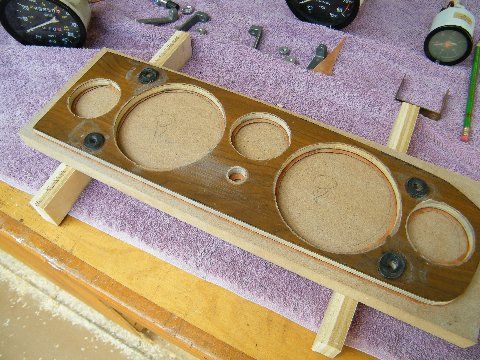
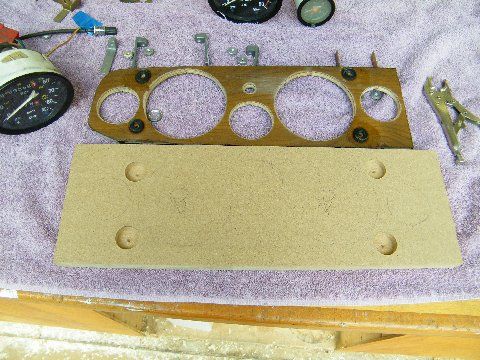
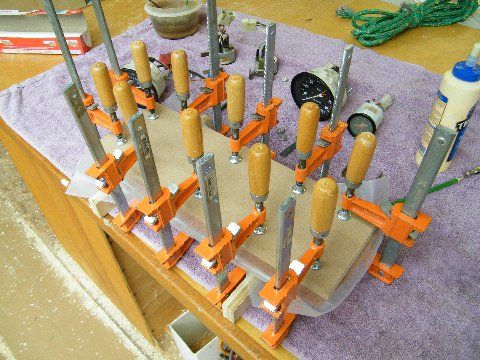
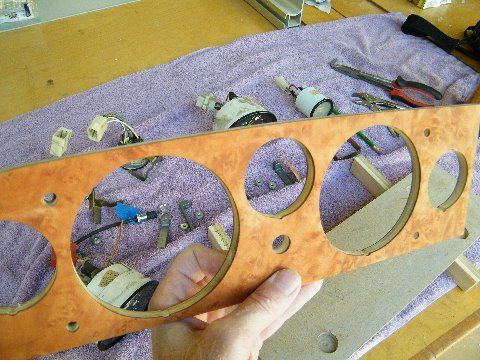
First, sand the original piece to roughen up the surface for a good bond. 120-150 grit is fine, and decide which portion of the veneer sheet you want to use. Cut out an oversize piece (maybe 1/2" oversize). Scissors or a razor knife works well. (side note: I don't use pre-glued veneer). Then completely cover the substrate in glue. I use Titebond #2. The #3 is too runny. A THIN, EVEN covering is absolutely necessary, no voids, and it must extend out to all the edges, without exception. Use a small brush to get it consistently even and thin. Apply a layer of wax paper to keep glue squeeze out from sticking to the fixture and ruining everything, then clamp the hell out of it in a simple 3/4" plywood scrap fixture. The fixtures may need to make accommodation for various small hardware pieces on the substrates. Simply done by drilling a few strategic holes. Wait at least overnight. Carefully remove, then trim close, but not exactly to the edges, with a sharp razor knife. Do this with the piece on a hard backup surface, scrap plywood is good. Don't try to hold the piece in the air and trim it freehand, it will chip. Then use sandpaper (rolled into a small dia. tube) to get the rest of the way to the edge. Take extreme care of which direction you run the sandpaper on the veneer, especially as you get near the edge, as it is susceptible to chipping. Sand across the veneer towards the substrate, not the other way around. Watch the grain carefully as you sand and go very slowly and gently. "Chipping Is The Enemy Of Veneer". veneersupplies.com is the best supplier I have found. The pictures of mine are done in Madrone Burl.
Good luck! And it is easier than it looks, just be patient and take your time.