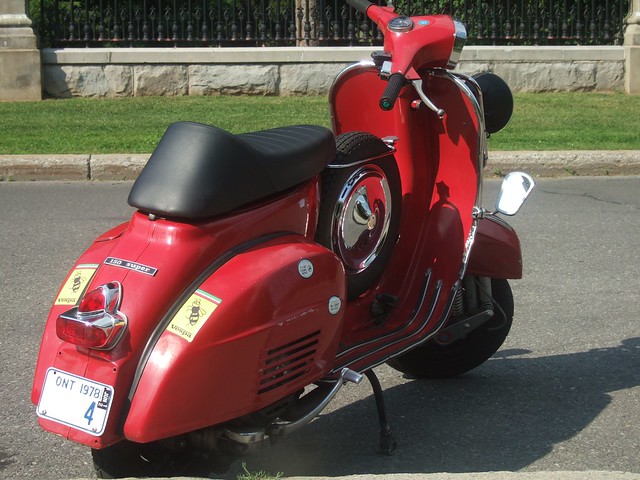

That said, I feel like I have just passed a milestone. Earlier this year I pulled a control arm on my '74 124 in order to put longer bolts on the crossmember after having had lowering springs installed and put on Koni dampers myself afterwards:

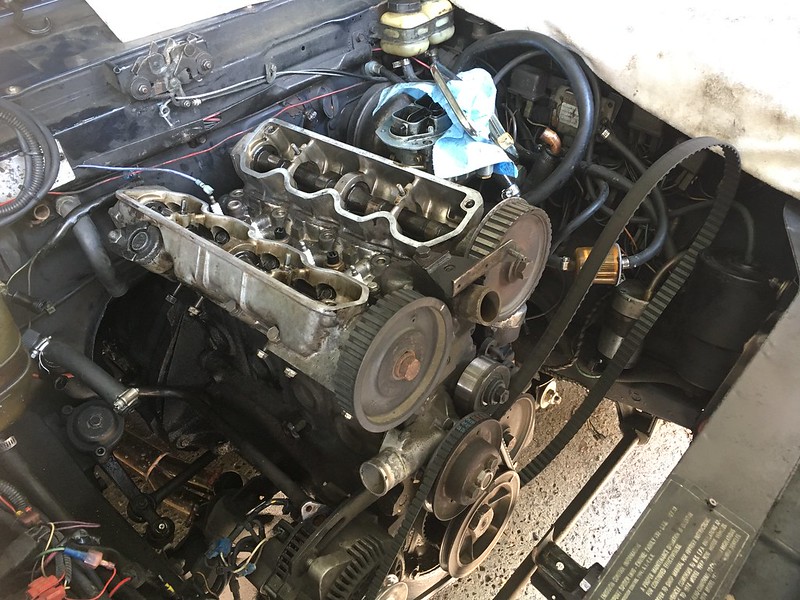
Now I've pulled and reinstalled the 1800 head which is the deepest I've ever dug into any engine. The Honda 350 was so much simpler by comparison! If I had to pull the head again I could probably redo it in half the time because it involved some wasted time on trying to install new valve guides and I ended up turfing the old head.
Considering that two years ago I was nervous even to pull a clip off a throttle link because I wasn't sure how it worked and if I could get it back on, now I feel like I can do almost anything on the car except welding. It's just so mechanically straightforward! A lift in the garage would be a dream and just make everything so much easier...
Anyhow, if anyone is interested, here are some photos and vids. I tried to make some how-tos in case anyone else is just lacking confidence to get elbow deep into their engine. Thanks to my neighbour, Bruce, for helping lift the head off and back on, and to CanadaDan for his knowledge, parts, and friendship.
Rad pulled, timing belt loosened:
Vid of the prep beforehand
Head and intake manifold removed:

The block and head gasket:

Vid of progress to that point.
You can see that there is no cross-hatching on the cylinder walls and that they are worn smooth. This is an over forty year old engine and coming up to 98,000 miles on the odometer.
Head with most valves removed. A socket and hammer was enough to free the valve keepers:

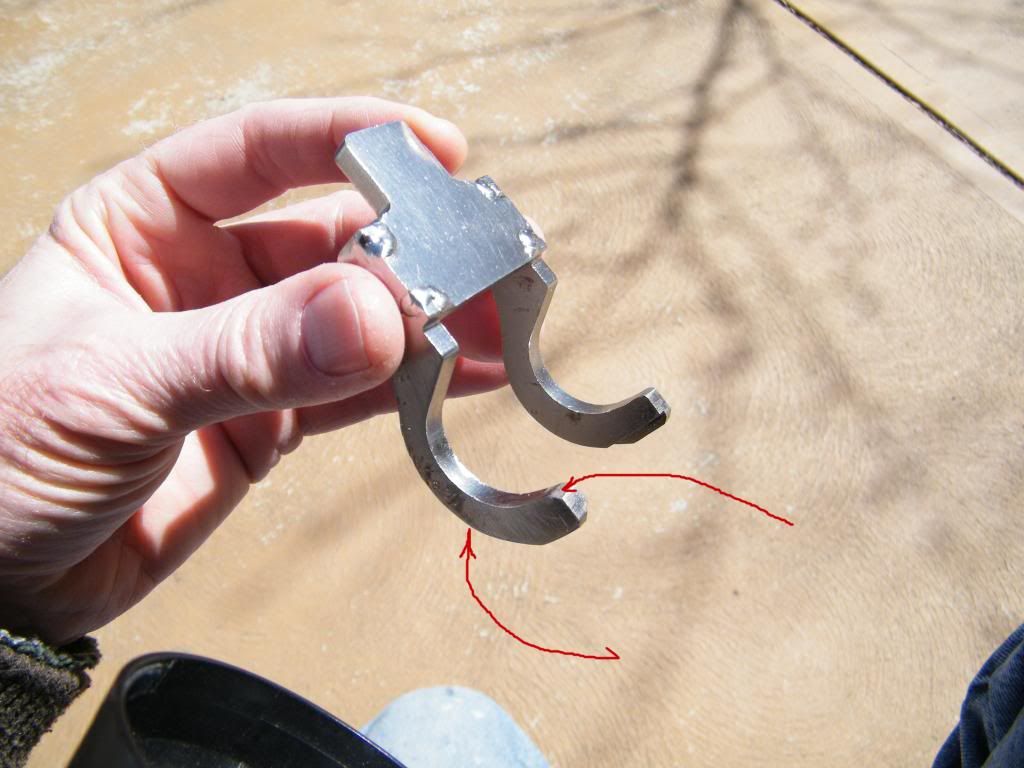
The valve spring compression tool that would have been handy to put everything back together:

An update after a long few days discovering that my old head was scrapped. It turns out I went with a new old head that already had valves installed and turned over freely after cleaning up the tappets/buckets that had a bit of sticky varnish from years of sitting on a shelf.
This is the the new head before I installed it. The mating surface is MUCH cleaner than the old one which was badly scored, and I used a wire brush to decoke the valves:

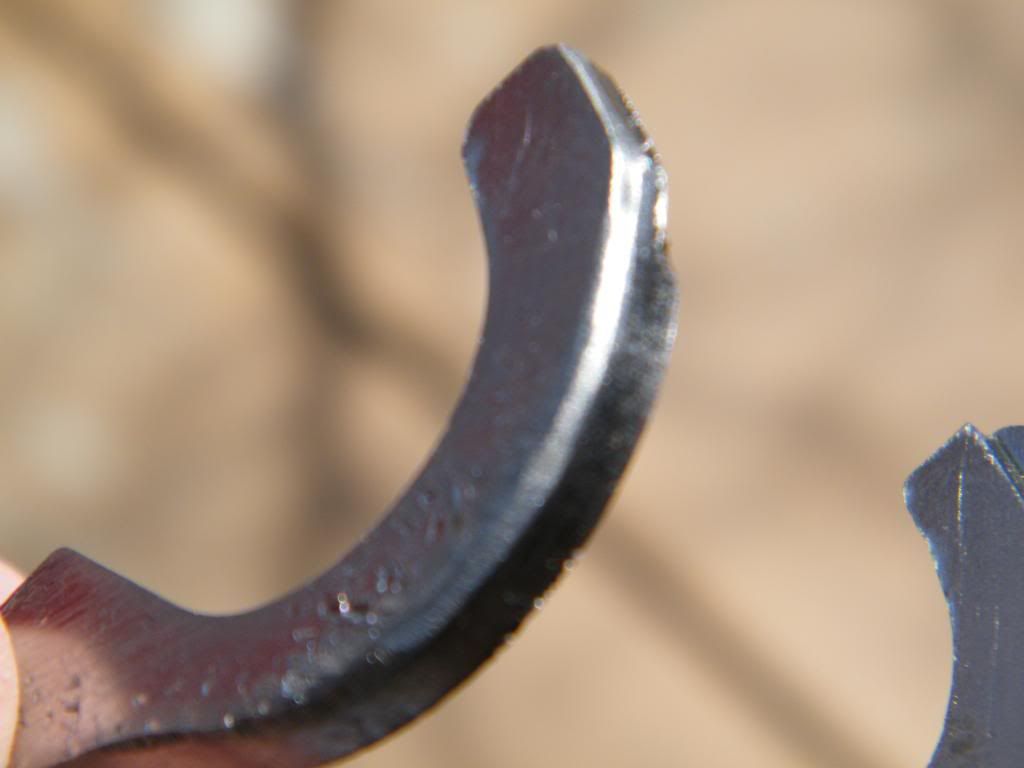
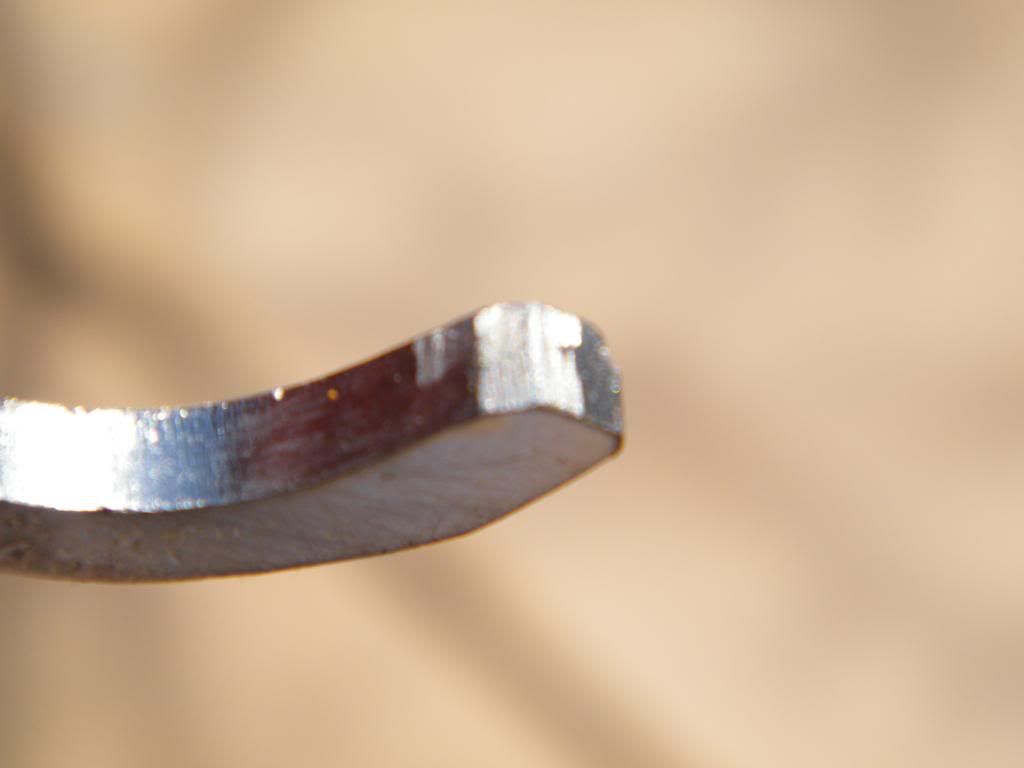
Here's a video showing the damage to the surface of the old head. The pistons of 1 and 4 had corresponding scoring marks. Something metal must have got into the engine, that can't just be chemical scoring. A screw from a carb part would only go in one piston, so I wonder if something metal flew apart and then was sucked into multiple cylinders; oddly the valves seemed fine... not sure what happened to affect multiple pistons. If, in the future if I end up having the block bored I'll probably put in some higher compression pistons and go for an MLS head gasket.
New head installed with the old one in the foreground:

The engine with bits painted up and timing belt cover reinstalled:

I put the timing belt cover back on in order to use its marks to confirm TDC on piston #4 and then went a little crazy with the red spray paint. The engine was originally very rough and hard to start (because of oil in cylinders because of reassembly) but I couldn't check compression because I could never get it running long enough to get it hot. I was a bit flumoxed, checking and rechecking pulley orientation, carb, battery etc., worried about the new head gasket and proper torquing. Probably lost at least half a day there. Turns out news plugs did the trick and it fired right up. Lesson learned!
I still have some more dress-up bits on the way from Allison's. I will have some body work done probably next year to make the exterior look a bit better, too.
After it was all together the downtube was still separated from the header because of not great workmanship at the muffler shop when they installed the Vick's stainless header and just tried to clamp it and put in silicone to fill gaps rather than welding it. I supported the downtube to make sure it wouldn't scrape the ground, then drove it to the muffler shop at 7:00am. It sounded like a Supermarine Spitfire and the lift off sound were glorious.
I ran the engine like that for a day or two to let it go through a few heat cycles and then retorqued the head. There was always a lot of valve clatter so I knew I would have to adjust the tappets, and power seemed a bit down, especially over 3500rpm. Compression was lowest on #2 (110psi, while others were 125 or 120) and valve clearance was much too large for intake #2 especially, so I figured this might account for the low compression and reduced power.
Tools required for adjusting valve clearance (a tappet and shim from the old head are visible, too):

Here's a vid of a successful shim exchange for intake #2. I wish they all went that fast and smoothly!!! The video is totally deceiving and a best-case scenario.
I couldn't get a new shim in #4 exhaust because of the cam tower casting preventing the tool from getting into position (to do with the original distributor mounting) and so had to leave it at .021-.022. To compensate for this I gapped the intake side of #4 at .019 rather than .018 like the others. This is still all within spec and +/- .001.
On the old head all the intakes were at .017 except for #2 which was at .016 and exhausts at .018 (you can see the measurements on on the paper from Sept. 2014, on an engine that had been run, but sitting for about an hour, so not totally cold). It was a tight fit and less clearance than spec on the exhaust, but it ran like a top. A Dynolicious app showed 74hp like that on a cool evening. I'm wondering if I should go back to those specs again...
Anyhow, it's all buttoned up now. I can feel the drive to FFO2016 in my bones already! Tomorrow I will do a run to pick up the Allison's bits from south of the border and it will make for a good two hour test on the highway as a prep for the drive to Detroit and check on oil and coolant levels.
Last night I did a 0-60 run on a stretch of rural freeway which was a little disappointing in terms of HP as per the Dynolicious app compared to the run two years ago, but maybe I was on a level surface this time whereas the last one was a bit downhill and with a tailwind.
Only issue now is a popping backfire on lift off with a belch of blue smoke. Not sure if it's a new head issue with valves, timing, or that there is still a leak on the exhaust where the stainless steel header meets the downtube.
Cheers,
phaetn