1. Select the wood. I use Poplar for two reasons. It can be found with varying grains, so you can find a grain you like, and it is a "semi-hard" soft wood. Not as soft as Pine, but soft enough to work easily. 1X6 is perfect for a fit between the seats. Cut 3/8" off the width of the intermediate spacers so they don't overhang the rounded edges of the top and bottom pieces when it's assembled. I also cut the same 3/8" width off the leg piece to avoid two edges lining up.
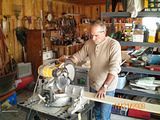
2. Cut out the pieces. I've made this one a little longer than the 1st one I made as a test run. The pieces measure: Top and bottom; 12-1/2". Intermediate spacers; 2-1/4". Rear leg; 3-3/8". The intermediate spacer length give the finished unit a comfortable height for anyone of near average height.
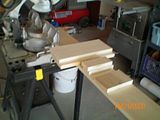
3. Cut corner radiuses on top and bottom pieces (I used a teflon tape holder for the pattern, the size of the radius is a matter of taste.) I made a carboard pattern to get the radius of the tunnel for the leg. Leave about 3/8" of the sides of the leg piece past the cut out for the radius so you don't end up with a sharp point there after you round the sides.
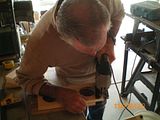
4. Cut out cup holes. I cut a 3-1/4" hole with a hole saw. Center the holes, side to side and come in 3/4" from the front and back edges. This works well for the large drinks and there are foam rubber inserts at the auto parts stores that will fit in it to hold and insulate a drink can
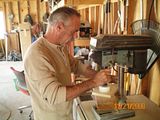
5.Shape the edges. I use a 3/8" rounding bit with the bearing head. Don't round the bottom edge of the top and bottom pieces, or the leg radius section. Round both sides of the intermediate spacers and the leg piece. It works best with a router mounted to a router table.
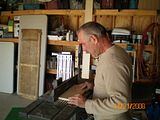
6. Round the cup hole edge.
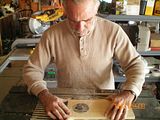
7.Sand the pieces smooth. For most of this I use a belt/disc sander to clean up the corners. Then a palm sander for the majority. Some hand sanding is necessary around the cup holes.
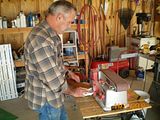
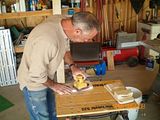
8. Stain the pieces. I stain it now so that I get a good even coat, even though there will be some resanding and staining during assembly where the filler is in the nail holes.
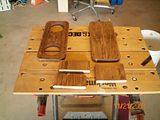
9. Assembly. I use carpenters wood glue and 15 gauge finish nails. First nail the leg to the underside of the bottom piece. After the top is on, you wouldn't be able to nail it. I nail it in 1/2 to 1" from the back edge. It could be closer, but the unit would have to be moved back each time the E-brake was pulled up. Fill these nail holes. Sand it out and restain. Then nail in the intermediate spacers. Place them slightly to the inside the cup holes, centered and squared on the top and bottom pieces.
You'll need to fill the nail holes, sand and restain here also.
Viola! It's ready for the varnish. The level of gloss is a matter of taste. The original wood looking stuff on our later Spiders has a satin finish. I use polyurethane with a UV inhibitor rating.
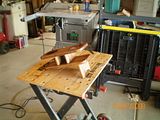
I realize not everyone will have the tools I do (I make my living with them) these can be made without some of them of course. On the other hand, I don't have all the tools that Norm from New Yankee Workshop has.
I know, I'm not wearing safety glasses. I've found that it's easier to wash the saw dust out of my eyes than to try to see through fogged up goggles. Just as much gets under glasses and in my eyes anyway, so I keep a bottle of eye wash wherever I am working.
If anyone wants to make one of these and needs any help, feel free to Email me at: rlux4@dslextreme.com
Ron
